Last Updated on August 27, 2022 by admin
Using a submersible pump instead of any regular pump is always beneficial under every circumstance. It will save your precious money and provide way better service in the field. But it can get damaged, unfortunately, and force you to disconnect and replace your two-wire 220-volt submersible pump.
The disconnection task should be completed by strictly following the wiring diagram for 220-volt submersible pump. You will have to understand the diagram and the working principles first. Then start disconnecting the submersible pump, and take assistance from the diagram if required.
Table Of Contents
The Steps of Disconnection by Following the Wiring Diagram for 220-volt Submersible Pump
You must complete the disconnection task as it is described in the wiring diagram. For the disconnection task, you will require pliers to disconnect wires and a voltmeter to check voltage. Make sure to keep these two beside before you start disconnecting your 2-wire 220-volt submersible pump. The steps you will have to follow are discussed below:
Step-1: Determination of the Number of Wires
The 220-volt submersible pump you are using can consist of either two-wire or three-wire. You will have to determine the wire number first, start the pump., and follow the conduit back for it. Now comes the thing to concentrate on the most because if the conduit runs straight to the pressure switch section, it is a two-wire.
On the other hand, when it first enters the control box and then to the pressure switch, it is a three-wire pump.
Step-2: Voltage Checking
Checking for voltage is also a crucial task before jumping into the main disconnection process. You will require a voltmeter for the operation and check both sides of the switch correctly. The voltage in both ends should be zero, and this checking task should confirm it.
Step-3: Disconnection of the Motor Wires
After making sure the voltage of both ends is zero, you need to focus on the wiring diagram. The wiring diagram of the 2-wire 220-volt submersible pump is given below to make your job even more accessible.
In the upper portion of this diagram, you will find a section named “Pressure Switch.” There will be two more sub-sections in this section: “Motor” and “Panel.” You will have to do it in this way because the conduit runs straight to the pressure switch for this 2-wire 220-volt submersible pump.
In the “Motor” sub-section, you will find two wires are connected in two different ports. These wires are indicated as M1 and M2 in the diagram as M1 is black and M2 is red. Now you will have to terminate both these black and red wires direct from the “Pressure Switch” box.
Step-4: Termination of the Ground Wire
Right below the “Motor” and “Panel” subsections, you will find another wire that is connected. From the wiring diagram you have by your side, make sure it is the ground wire. This ground wire will be indicated in green color in the wiring diagram with a ground icon connected with it.
It will be connected with both the “Pressure Switch” box and the ground from the “Panel” subsection. Therefore, you will have to terminate the green ground wire from both ends.
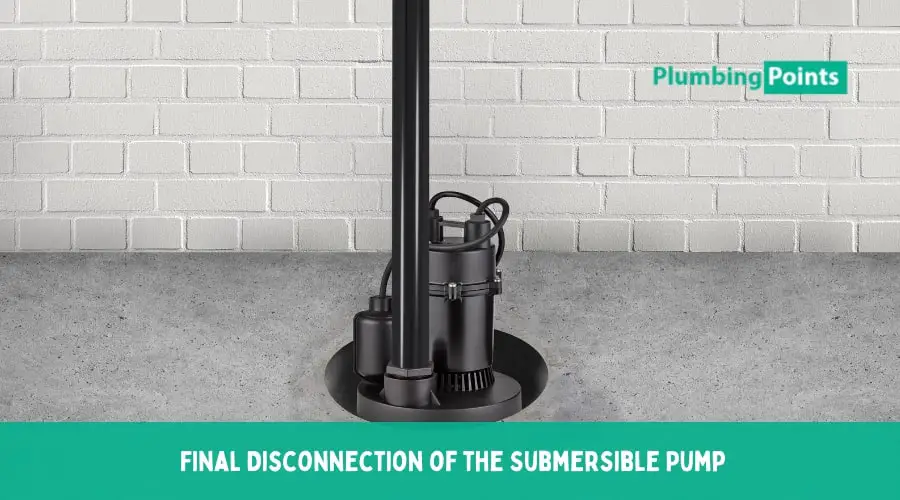
Step-5: Final Disconnection of the Submersible Pump
We are almost finished with the disconnection process of the 220-volt submersible pump. Now in this final stage, you must disconnect the pump wires as shown in the figure from the below part of the diagram. At the same time, you should make sure to tie a strong, lightweight string to the pump wires.
While doing so, it should be prior to pulling those pump wires through the conduit as carefully as possible. This tiny bit of action in the last step will work as a blessing when you connect the new 2-wire 220-volt submersible pump.
Because of it, the task of pulling the new pump wires back through will become way more straightforward than the last time you did it. Thus, the process of disconnecting the 2-wire 220-volt submersible pump by following the wiring diagram comes to an end.
Final Thoughts
You may start facing some issues with the 220-volt submersible pump you use out of nowhere. Then you will have to check the pump to further action for solving. Whether you fix the pump or replace it, disconnection of the pump is the first task that you need to perform.
In this disconnection process, the wiring diagram for 220-volt submersible pump has probably the most vital role to play. Before you start disconnecting, make sure to gather all the required information and equipment. If you face any doubts while disconnecting the faulty pump, the wiring diagram will be there for your assistance.