Last Updated on August 27, 2022 by admin
Moen, being one of the leading brands in manufacturing bathroom faucets has faucet handles having screws hidden. Some of us think that there are no screws at all! Removing the ones with visible screws is easy but the hidden screws can make it complicated. We have made a step-by-step process that tells you how to remove Moen bathroom faucet handle without any glitch!
Table Of Contents
Steps to Remove Moen Bathroom Faucet Handles
As you can have both single handle and double handle faucets by Moen available at your house, we have come up with the removal for both of these. Check out and know how you can remove both the single and double handle faucet handles easily!
Removing Moen Double Faucet Handles without Screws
This step-by-step guide is to help you learn how to remove Moen single-handle faucets that have hidden screws or no screws!
Step 1: Gather the Gears
To learn how to remove Moen single handle bathroom faucet handle, you have to gather the necessary gears first. Here is a list of what you need to remove.
- Wrench
- Screwdriver
- Needle-nosed pliers
- Water
- Vinegar
- Socket Ratchet
- Rag
Step 2: Get the Cap
First of all, you have to search for the cap or button on the faucet. Take a look at the faucet healed so that you can get your hands on the cap or the button. You will get to see it on the top of the side.
Step 3:
It’s time to pop out the cap of the faucet. Go for a flat screwdriver for this job. Get it inside the gap of the cap. Make sure you are slow and gentle with your screwdriver. A small screwdriver is necessary for the job. Once you get it in, after a while, you will see it getting unscrewed or popping off.
Step 4: Take off the Screws
When you are done, it’s time to switch off the water supply as you are going to work with the water. IN this step, you have to take off the screws. Once the cap is popped off, you have to take off the screws that are inside of the faucet. Yes, this is how you remove faucet handle no visible screws! For this, you must learn about the screw size first.
Without this, you cannot pick up the right-sized wrench. The screws that are added inside are tiny. These are easy to run through the drain too. So, it’s necessary to cover the drain right before you take off the screws. If you don’t, you will lose the screws and your drain will also be jammed! Take a look and get a tiny screwdriver to unscrew and take them off.
Step 5: Remove the Handle
Right when the screw comes out, you have to get your hand on the handle and pull it out. At times, you cannot pull it with your hands. In this case, pliers can help you out. Pliers can be harsh on the faucet handles at times.
In such situations, we recommend you settle for using the faucet handle pullers. As with the pliers, you have a chance of scratching the handle, the faucet handle pullers will solve the issue. If you don’t have a faucet handle puller and it’s not coming out with the hand, you have to settle for pliers anyway.
And to reduce the risk of scratches, we have an easy method for you. Get an old cloth and wrap it around the base of the handle. Once you are done, you can get your pliers and remove the handle.
Step 6: Clean the Handle
Once the handle is removed, you will surely see mineral deposits if you have used the faucet for a while already. You have to clean it up before you go on for any other steps further, Get your hands on distilled white vinegar. You can use lemon for the job to. Use it to clean these mineral deposits. And you are done removing the handle!
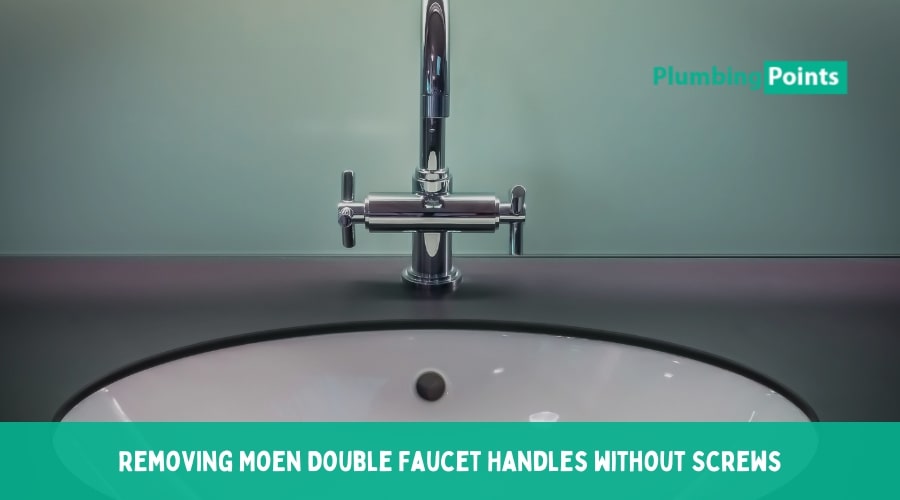
Removing Moen Double Faucet Handles without Screws
Here’s the way of how to remove Moen bathroom faucet handle without screws that have double handles.
Step 1: Rotate the Handle
For removing the double faucet handles, first, you have to turn off the water supply as you are working with water. The next step is to twist the base of the handle. Carefully, get your hands on the base of the handle.
You need to hold the handle arm of the faucet in the right place with your hand first. And, slowly but with firm hands, you have to rotate the base of the faucet’s handle. Go for a counterclockwise direction in this case. After a while, you will be able to remove it.
Step 2: Remove the Screws
As the base is removed, it’s time to work with the screws now. The screws are inside. And so, you have to hold the underneath centerpiece and work with it now. Go for a screwdriver. Make sure the screwdriver is small and fits well. Remove the screws carefully. Also, make sure you have covered the drain so that the screws don’t run through the drain.
Step 3: Pull the White Cartridge
So, you are done with the screw part- the tough part, already. And now, it’s time to pull out the white cartridge that is underneath. For this job, you will need a nosed needles plier. With the help of this device, you have to remove it and then replace them.
This is the toughest part of the bathroom faucet handle removal. But for Moen users, this is easier than the other brands in the market. Once you have done it, the handle is removed already!
Wrap Up
We have covered both the single handle and the double handle bathroom faucets by Moen. You can remove both of these faucet handles in the methods we have mentioned above. Check them out. The methods are not tough; all you need is to be a bit careful and patient!