Last Updated on August 28, 2022 by admin
Water damage is the number one cause of home insurance claims in the U.S. and while sump pump systems are a common culprit, they are not always to blame. A clogged pipe or collapsed pipe could have led to too much water backup, which then made its way into your house and damaged everything in sight.
While a clogged and/or collapsed pipe may lead to water damage, it is possible to have water damage without any signs of a pipe problem. This is most likely caused by a faulty sump pump. About 1 out of every 4 sump pumps will fail at some point, and if it happens, it may not be easy to determine the root cause.
Water from a basement is removed by sump pumps after a storm. Flooding can happen when a sump pump fails during or after a heavy rainstorm. The sump pump system must be tested and maintained annually. In this guide, we’ll explain How To Test a Sealed Sump Pump.
Table Of Contents
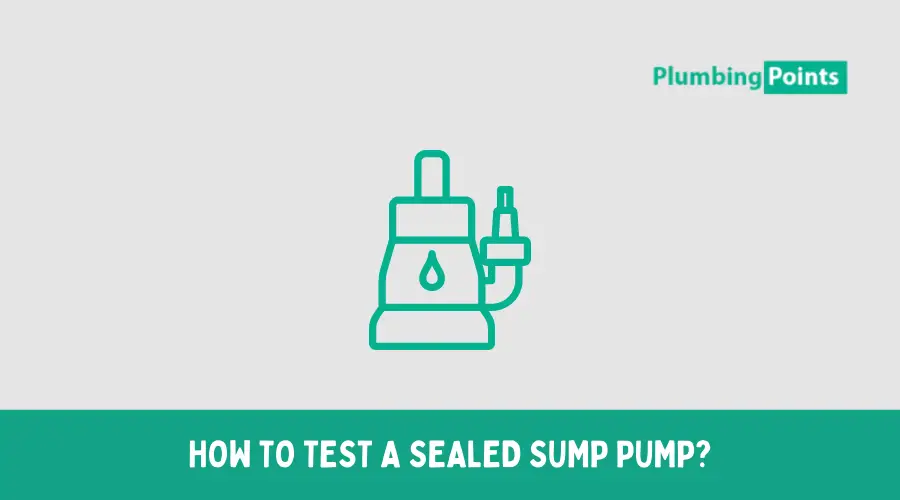
HOW TO TEST A SEALED SUMP PUMP?
A sump pump needs to be tested immediately if you suspect it isn’t working properly. While there are many tests you can do, some of the most accurate (and easiest to do) are the ones that involve suction. Here are two of the best ways to do this…
1. SET UP A SUCK TEST
The steps to a suction test are as follows:
- Place a bucket under the floor’s drain pipe and drain all the water out of it.
- Measure how much water drains out per minute.
- Put your hand into the bucket, while holding it firmly against the pipe.
- Pump up and down the sump pump a few times using only one hand (the other hand should be holding onto the cord).
- As the level of water drops by 1-2 inches in the bucket, count how long it takes.
If the bucket drops in less than one hour, your sump pump is probably working.
If it takes longer than 1 hour to drain it, that is a sign that your sump pump has failed and should be replaced.
2. USE A SUMP PUMP TESTER
The easiest way to test a sealed sump pump is with a simple electronic tester sold at any home improvement store. Turn on the sump pump and plug the tester into an outlet close to it.
If the tester lights up and makes a beeping sound, that means your sump pump is working. A great possibility is that you won’t hear anything if it doesn’t work.
If you have a battery-operated version (or if you are too far from an outlet), there are also “sticky” testers that can be attached to the bottom of your sump pump (although they are less reliable). The best way to tell if it’s working or not is to listen for air moving through the lines.
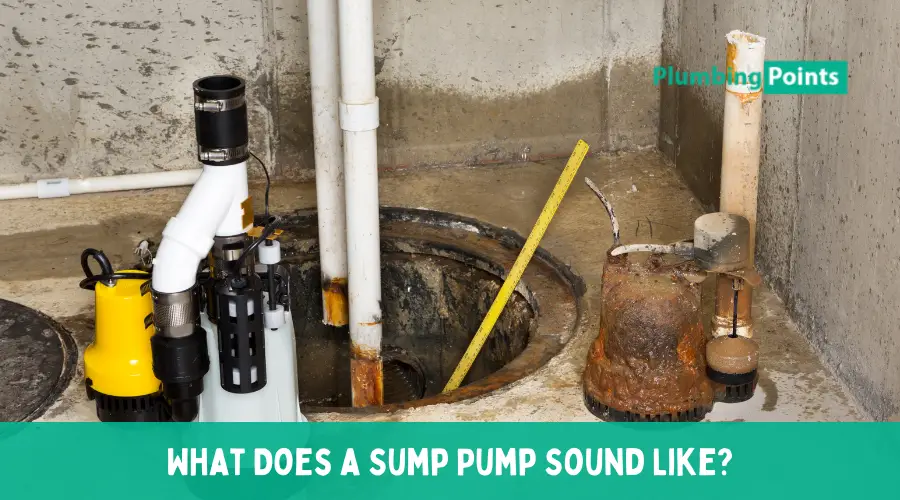
What Does a Sump Pump Sound Like?
Sump pumps will usually make a humming noise, but if the problem is with your motor or the float switch, you may hear different sounds at different times. For example, if your sump pump is not working and the motor runs with the float up, you may hear strange noises like clicking or grinding.
How To Test a Sump Pump Without Water?
Sump pumps can be a good investment for your home because they keep your basement, garage, and crawlspace from getting flooded during heavy rain and storms.
However, you should know that your sump pump will not last forever, no matter how well you take care of it.
So don’t delay, perform these steps now. Before you buy a new sump pump check if the old one is broken by testing it without water in the pit.
Bypassing the float switch
- Turn off power to the sump pump first.
- Lift the sump pump out of its pit. Remove the lid and disconnect any wires from the control box on top of the sump pump.
- Leave enough wire between them so they can be connected later.
- Carefully take out the old float switch from its casing inside the sump pump and discard it.
- Attach the new switch and tighten it down.
- Check to see if you can activate the motor by lifting up the float with your hand.
- Connect wires and re-install the sump pump.
- Usually, the red or black wire goes to the float switch while the white or green wire should go to the control box.
- Make sure that you reconnect any power wires that may be missing.
- Test out the sump pump again by opening and closing connections between wires and controls on top of your sump pump.
If the sump pump is working properly, then your sink will drain and you can feel confident about having a working device in your home.
If your SUMP PUMP is malfunctioning, what do you need to do?
If you think your sump pump is no longer working properly, it’s time to call in a professional. The water damage company can help you determine the source of the problem and get it fixed and prevent any more water damage in the future. Here are some additional tips for what you should do if your sump pump is leaking…
1. CALL IN A PROFESSIONAL
It’s always best to try to fix the problem on your own, but if you need help, call in a professional. There are potentially multiple problems that need to be addressed when dealing with water damage.
2. DON’T DRIVE INTO THE WATER
You don’t want your car sliding into a pool of water, so you should move it out of the way instead. This should be done in a safe area (such as the driveway).
3. SEAL THE SPILL
If the water is coming from an overflowing pool, there’s no time to waste. Use a heavy-duty sealant and seal up any holes or other openings where more water can come through. Make sure you don’t use anything that will dissolve once exposed to water (like polyurethane, butyl rubber, or roofing tar).
If the water is leaking from your sump pump, there’s no way to stop it, so you’ll need to call in a professional as soon as possible. This will also help prevent water damage in the future.
Final Words
When a sump pump is activated due to a flood, it can make the situation much more difficult. A good way to test it though is by running the pump for 10 minutes with an inch of water in the basin. If there is any leak, you can find it this way. If there are no leaks, you’re good for now but after that, you should be sure to check again every six months or so and replace your system if necessary.