Last Updated on January 14, 2023 by admin
If you have drippy shut-off valves or they have got stuck, it is high time you changed the valves. Now, getting a plumber will cost you about $35 to $200 but you might not be ready for it. If you plan to do it yourself, we can tell you how to replace shut off valve under kitchen sink.
For every shut-off valve failure, you can face the entrance of hazardous fluids. To keep it away, take a decision as soon as you can.
The step-by-step process will help you deal with the old drippy stick valve by replacing it with a new and smooth one! Stay tuned to learn more.
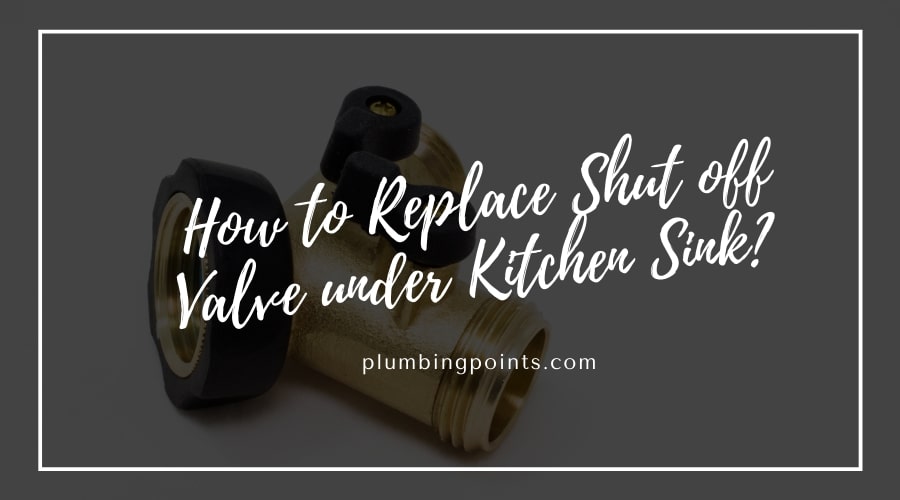
Table Of Contents
Step by Step Changing Shut-off Valve
Whenever you see the shut-off valve under sink won’t turn, you can follow our method. Only five steps and you can make it work once again.
Step 1: Turn off the Water Supply
Whenever you plan to replace the shut-off valve under your kitchen sink or work with anything related to the water supply, your work is to switch off the water supply line. You have to remove it from the actual valve.
This will ensure that while you work, the water will not come out of the pipe. In short, it locks the water. While working on the removal of the water supply line, some water will come out. Don’t worry, it’s very normal. After removing the valve, you will see the compression fitting. To elaborate, you have to search for the nut that is connected to it and onto the pipe too.
The nut must come off the shut-off valve for the process to work. Some valves in the market include threads too. But mostly, the compression fitting is popular and here, we will discuss how to replace shut-off valve under kitchen sink if you have a compression fitting.
Step 2: Take off the Original Valve
Now that you are done with removing the water supply line, you have to work with the original valve. It is time to remove that. To work with the valve, you will need pliers. Search for some and get ready with them. Get your hands on the shut-off valve and place the crescent wrench on it.
While doing it, make sure you are holding it straight and steady. Don’t move it and when it is ready, you have to get the pliers on the nuts. In this case, you can rely on the channel locks too. Turn the nut carefully. And slowly, it will be loosened and will come off.
Immediately after doing it, you will see some water coming out of the pipe. We recommend you get a bucket so that the water doesn’t ruin the floor. When the valve is off, the nut will stay stuck onto the pipe with the help of a brass ring. Don’t worry about replacing the ring.
Step 3: Change the Valve
Once the valve is removed; it is time to replace it. Get the new valve and place it right on top of the copper pipe. In short, you have to slowly slide it in. With one hand, you have to hold the nut and position it properly. Keep it in its right place. With your other hand, you have to go through the shut-off valve and turn it to make it tight.
So, you have got the valves in their right place already! Now, it is time to tighten the nut. For this, you will need the crescent wrench. Get it on the shut-off valve and start tightening it. This time, you have to go oppositely.
At times, you apply a lot of pressure on the pipe and eventually, it gets damaged. Certify that you are keeping your hands off the pipe as much as it is possible.
Step 4: Turn on the Water Supply
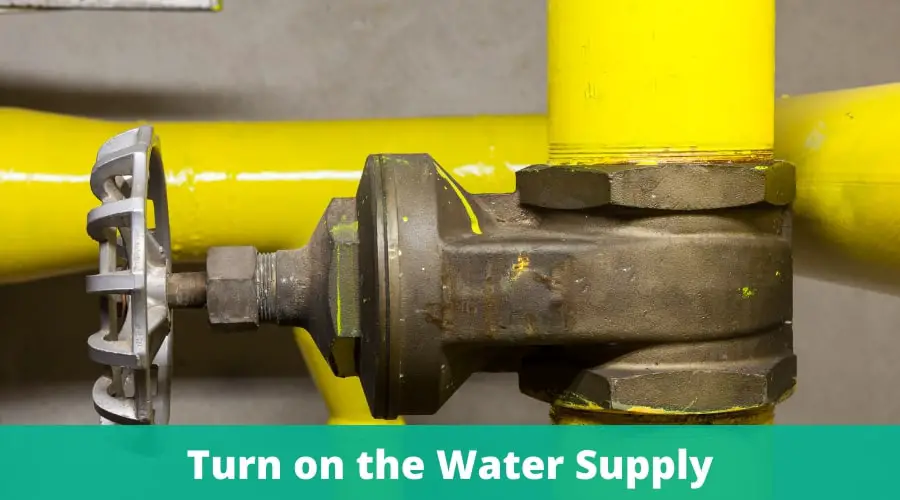
So, you are ready with the tightened nut. Take the supply line and work on the valve opening with it. Place it properly and then you have to tighten it just the way you loosened it before. Go for a few turns here. In this case, it should be tight because you cannot afford water leaking, can you?
When you see that it is properly tightened and ready, you are free to turn the water back once again! In some cases, you can still face leakage.
Step 5: Test it
So, right after dealing with the water supply in the last step, you have to look for the leaks. During testing, if you see that there are still leaks, you have to redo the whole process to ensure a leak-free operation.
We always recommend read and reread the whole process before you start. Get a hand on your work if needed and arrange the necessary equipment beforehand. And if you are still worried, you have your plumber ready for you.
How to replace a water shut-off valve
FAQ’s
1. How much does it cost to replace a shut off valve under a kitchen sink?
Replacing a water shut-off valve can be expensive – from as low as $375 to an estimated high of over $800, with the cost varying depending on factors like location and quality. Consider whether hiring a professional is worth it for yours.
2. Do you need a plumber to replace water valve?
For homeowners with older homes and outdated plumbing, it’s a good idea to have valves professionally replaced. If you take off the valve yourself and discover internal rusting or rotted threads in the pipe, don’t hesitate- call your local plumber for help replacing the entire supply pipe.
3. How often should shut off valves be replaced?
Fixture shut-off valves are essential for running water in the home, but they don’t last forever. To ensure your plumbing system’s optimal performance and avoid costly repairs down the line, make sure to replace these components once every ten years – or at any time you install a new fixture such as a sink, toilet or faucet.
4. How do you stop a shut-off valve from leaking?
To fix your leaky shut-off valve, first loosen the bonnet nut with an adjustable wrench. Remove the nut to reveal a threaded spindle – wrap it securely in Teflon packing before retightening the bonnet and firmly adjusting its setting. Don’t go overboard or you risk creating further damage.
Wrap Up how to replace shut off valve under kitchen sink
It is always nice to do all the home duties by yourself! Through you are not a plumber but you can learn how to replace shut-off valve under the kitchen sink and get a new one. Nothing feels better than having your money and doing your work.
Comment below if you have any other tricks to make the replacement work easier. We always suggest you go for an expert if you see any problems while working on the shut of valve.