Last Updated on August 27, 2022 by admin
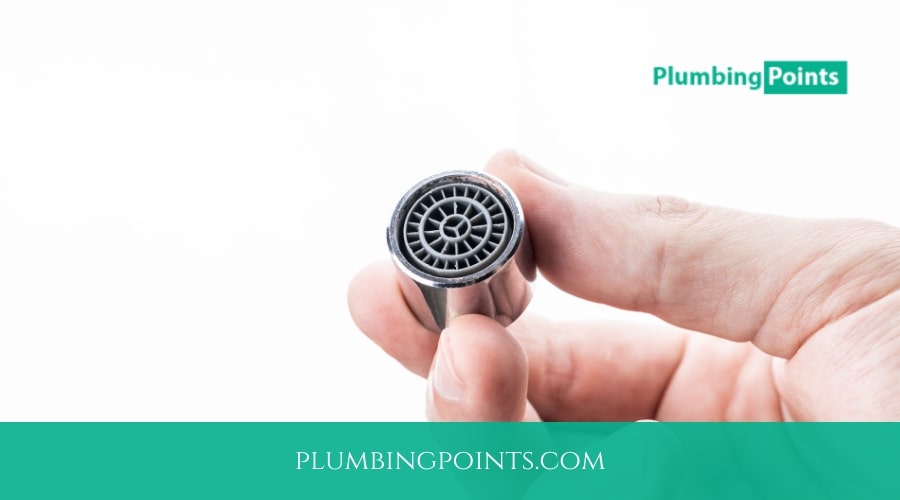
A faucet aerator is a device that attaches to the tip of a faucet and mixes water and air, reducing water usage by up to 30% in a home. Because faucet aerators are mostly constructed of wire mesh, they are highly susceptible to accumulating dust and gunk in the water, necessitating routine cleaning. It’s important to clean the aerator on a frequent manner. This article will explain to you how to remove recessed faucet aerator.
Table Of Contents
Recessed Faucet Aerator
Recessed faucet aerators are inserted straightly into the faucet’s tip, making them unnoticeable and impervious to damage. This is why they’re also known as concealed faucet aerators. Before you begin looking for specialized instruments to remove the concealed faucet aerator, ensure that the faucet’s end isn’t connected in such a manner that it’s hard to access the aerator.
Process of Removing Recessed Faucet Aerator
A faucet aerator can be removed or cleaned in a few distinct manners. If any of the approaches fail, you may require more resources to finish the work. Pliers, masking tape, a tiny stiff brush, and other essential equipment may be required. The methods for removing the aerator are discussed in the sections below.
Method-1: Remove with your Hands
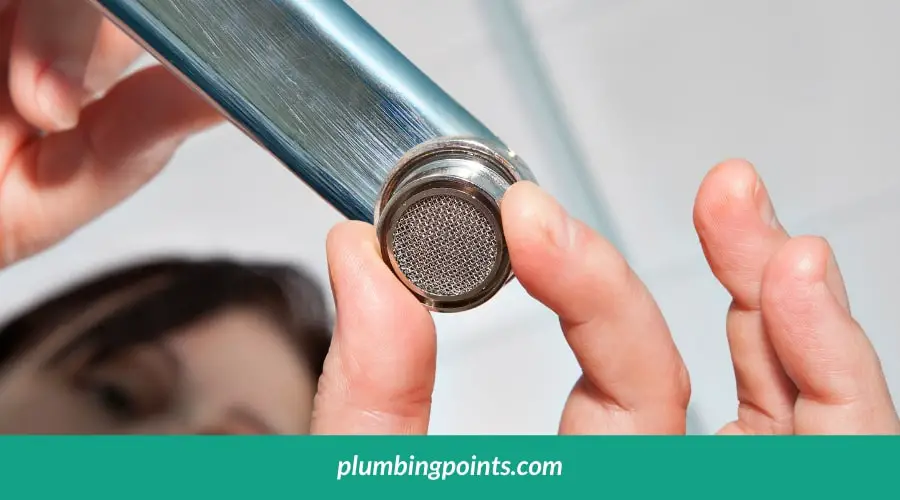
Begin by manually unscrewing the aerator from the nozzle. The majority of faucet aerators are fastened by hand, and you may typically remove them in the same way. To acquire a firm grip, make sure to wipe both the faucet and your hands beforehand.
Method-2: Apply Pliers
If retrieving the piece by hand fails, the following option is to use pliers. If the aerator is in good form and you wish to reuse it, put a rag or sticky tape over it to protect the metallic coating from damage before grabbing it with the pliers. This is best accomplished with a tiny set of channel-type pliers.
Hold the aerator between the pliers’ jaws, being careful not to catch the aerator on the faucet tip. Loosen the aerator from the tip by turning it counter-clockwise from under the nozzle. If that still doesn’t work, rotate the pliers a fraction turns and release the aerator from its current position. A tenacious aerator can be progressively opened by moving to different angles. Avoid gripping the aerator too firmly; the metal is fragile and will twist quickly, making your work much more difficult.
Method-3: Warm up the Aerator
If you can’t get the aerator out with pliers, consider implementing mild heat with a hairdryer, which will somewhat expand the metal and allow you to detach it with pliers. Even holding a lighted flame next to the aerator might release the metal. However, use caution while applying heat to the aerator since it is possible to burn any plastic pieces or rubber seals if the aerator is overheated. This approach should not be used if the faucet has a plastic aerator since it might be hazardous.
Method-4: Use Perforating Oil
If heating doesn’t work, try putting perforating oil on the bolts and letting it soak for a few moments before using pliers anew. Before attempting to remove the aerator, clean off any oil from the area since oil tends to make the metal greasy.
Cleaning the Aerator
Isolate the pieces after removing the aerator and make a record of their placement. The aerator can have a startling number of tiny pieces, all of which must be reassembled in the same sequence in order for it to work properly.
Clean any dirt or material residues from the filter and other components of the aerator system using a tiny stiff brush. If there is a lot of material accumulation, immerse the elements in a lime-dissolving fluid like Lime-Away for a whole night.
Removing an Aerator Without a Key
Try rotating the aerator with your fingertips before digging through your cabinets for a flattened tool just broad enough to go into the aerator and latch on the slots. It’s likely that the guy who put it in didn’t own a key and had to adjust it by hand. If you’re having trouble turning it, wear a latex glove to improve your grasp and try once more.
Use a knife from your kitchen cupboard if an instrument is required. If you fit the end of a flat-head screwdriver through one of the slots and press, it should work. Mineral residues that may be clogging the aerator can be released by hitting the screwdriver with a chisel.
A set of needle-nose tweezers can also be used to twist a resistant cache aerator. Unlock the jaws, connect the ends in the aerator’s slots, after which rotate the aerator in a counter-clockwise direction.
FAQ
How should a concealed Moen aerator be detached?
Answer- Try inserting the key’s spherical tip into the faucet’s base and carefully rotate it until the key’s teeth slip in and latch against the aerator’s jaws. Loosen the aerator by turning the key in a counter-clockwise direction.
Is it true that all faucet aerators can be removed?
Answer- Yes, you may remove, wash, and substitute all faucet aerators at any time.
How often should you clean aerators?
Answer- In every six months, aerators must be washed. A screwdriver or pliers may be required to unscrew an aerator. To retain the surface on the faucet, put a cloth around it.
Can you use a faucet without an aerator?
Answer- On some outdoor faucets, such as garden sprinklers, shower or bathtub faucets, or laundry washing machine water supply faucets, an aerator is not essential and might even be detrimental.
Remove Water Faucet Hidden Aerator
Conclusion
Nearly every household basin with a faucet has an aerator that is buried inside the faucet’s stem, which is why it is termed recessed. The aerators might become blocked with debris and prevent you from getting sufficient water. As a result, understanding how to remove recessed faucet aerator may be quite useful.